
Looking to impress tiny guests at your next kids’ birthday bash? 🎈 Whether you're planning a superhero soirée, a unicorn dreamscape, or a classroom celebration, this guide has everything you need to create magical goody bags easily.
⭐ Shared by the amazing @lafamillelandry, this video shows just how simple (and fun!) it is to build favor bags using goodies from @party.expert!
📽️ Watch the magic happen below:
🎁 What to Include in Your Kids' Favor Bags
No matter your party theme, there are a few essentials that always bring the fun:
-
🍬 Mini Candies: Think gummies, lollipops, and chocolate coins.
-
🎉 Party Blowers & Confetti: Colorful, exciting, and affordable!
-
✨ Stickers & Temporary Tattoos: Kids love customizing their stuff.
-
🎨 Mini Crayons or Coloring Pages: Great for quiet time after cake.
-
🧃 Personalized Cups or Juice Boxes: Add their names for a special touch.
🎯 Party Expert Tip: Choose a bag that matches your theme! Whether it’s a clear cellophane pouch, a character-themed tote, or a pastel drawstring bag, presentation matters as much as the goodies inside.
🧠 Pro Tips to Elevate the Experience
-
🎂 Match the Theme: Dinosaur erasers for a dino party, fairy wands for a princess party.
-
💡 Add a Thank You Note: Personalize with the birthday child’s message.
-
📦 Use Reusable Containers: Mini lunchboxes or toy buckets double as fun gifts.
🛠️ DIY Favor Bag Station – Let the Kids Join In!
Turn the bag-making process into an activity!
What You’ll Need:
-
Favor bags or containers
-
Fillers from above
-
Stickers, ribbons, and tags for decorating
-
A “Favor Bar” setup: bowls of goodies, craft supplies, and little scoops
How It Works:
-
Set Up a Table: Divide items into cute containers.
-
Invite Guests to Build Their Own Bags: They’ll love the freedom to choose.
-
Add Labels: Use printed name tags or chalkboard signs to guide selections.
-
Snap a Photo: These colorful creations make adorable keepsakes!

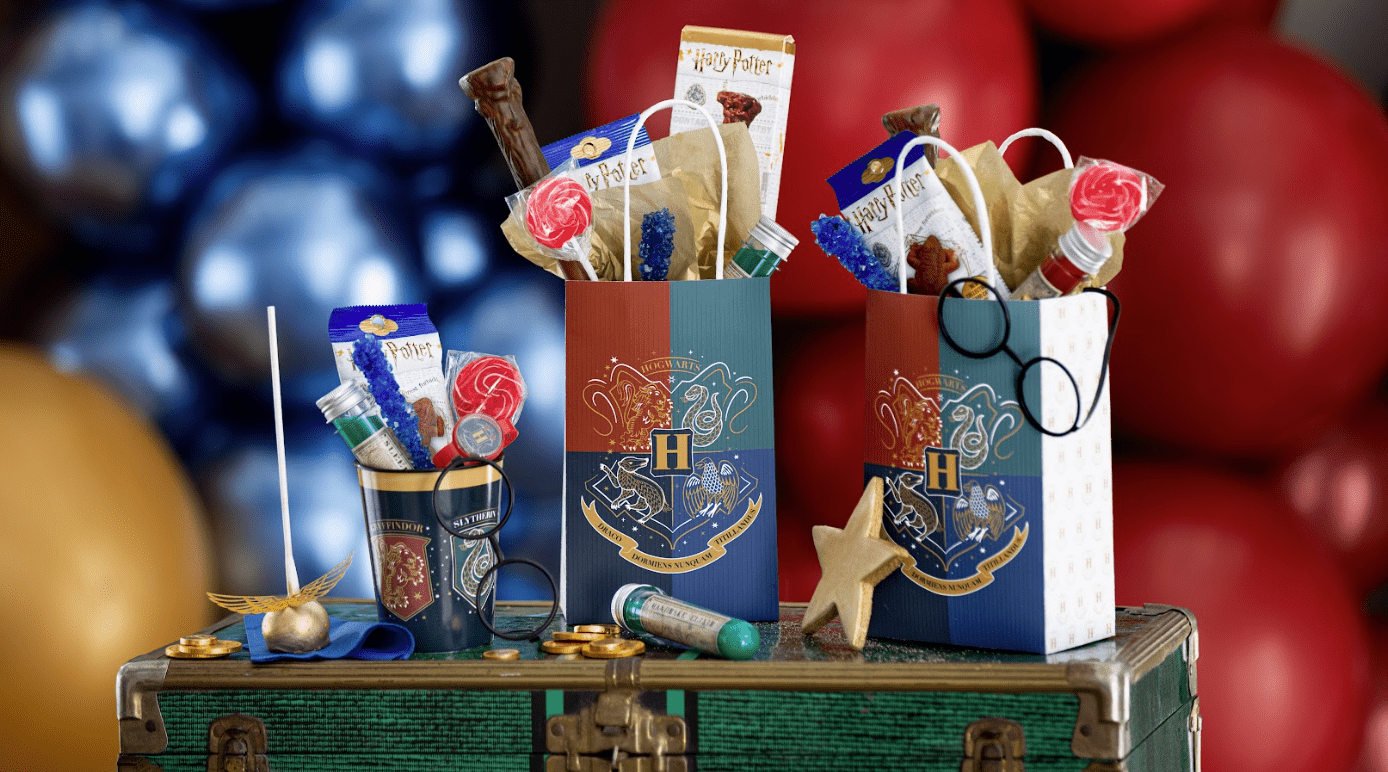
🛠️ DIY: Favor Bags with Floating Balloon Décor
Transform your party favors into vibrant tabletop decorations that double as gifts! This super-easy trick adds color, height, and whimsy to any birthday setup.
What You’ll Need:
-
Pre-filled helium balloons in colors that match your theme
-
Curling ribbon or decorative string
-
Themed favor bags (with some weight inside — e.g., candy, toys, or a small bag of rice)
-
Optional: Mini clips or tape to secure the balloon string
How to Assemble:
-
Fill Your Bags
Add all your goodies to the party favor bags. Make sure they’re heavy enough to act as an anchor for the balloon. If not, add a small bag of rice or wrapped candy as weight. -
Tie the Balloon Ribbon
Use a ribbon to attach a helium balloon to each bag. Cut the ribbon to a length that lets the balloon hover beautifully above the bag (about 18-24 inches works well). -
Secure It Smartly
Tie the ribbon directly to the bag handle. If you want a cleaner look, you can also clip it inside or tape it discreetly. -
Line Them Up
Place the favor bags on a table, shelf, or cabinet as shown in your photo. Boom! You’ve got a festive display and an easy take-home gift in one.

🌟 Bonus Tips:
-
Add a name tag on the balloon string so kids know which bag is theirs.
-
Use foil character balloons for an extra pop of fun.
-
Incorporate the favor bags into your photo backdrop for maximum visual impact.
🌟 Shop It All in One Place
From candy to cups, bags to balloons, Party Expert covers everything party-perfect. Whether you’re organizing a school celebration, backyard birthday, or indoor bash, you’ll find what you need to create Pinterest-worthy party favors – without the stress.
🔗 Shop Kids Party Favor Essentials »
0 comments